Table of Contents
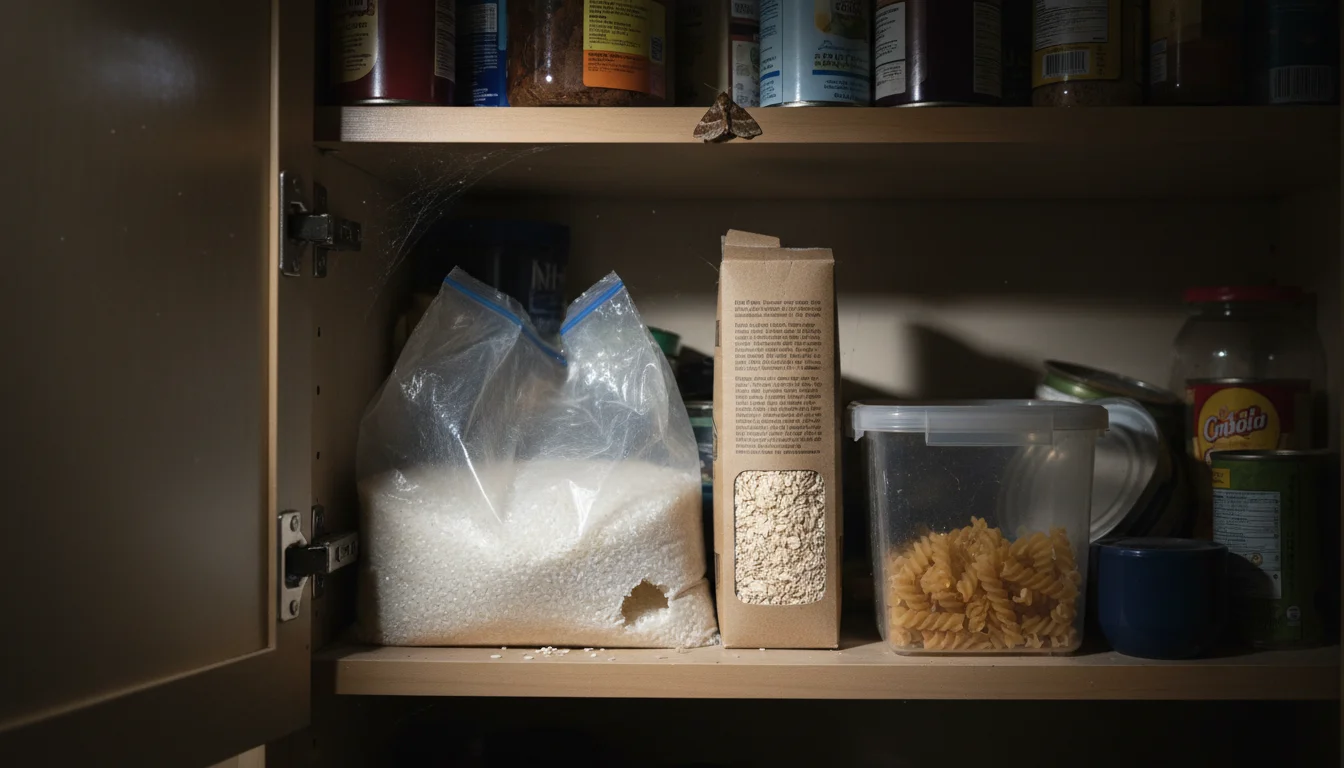
Pantry moths (Indian meal moths, specifically) are a particular kind of miserable. You don’t notice them until the infestation is already established – there’s webbing in your cereal, larvae in your rice, and small brown moths fluttering around the kitchen. The fix isn’t complicated, but it requires doing every step or you’ll be back in the same spot in six weeks.
1. Inspect Pantry and Toss Infested Food
Start with a full clear-out. Pull every bag, box, and container out of the pantry and check each one. You’re looking for webbing, tiny holes in packaging, clumped or matted grains, or larvae. Common targets: cereal, rice, flour, pasta, dried beans, nuts, birdseed, pet food, spices, dried fruit, tea, and chocolate.
Don’t try to salvage partially infested items. The eggs are microscopic and you can’t spot them all. Toss everything suspect, including unopened packages – larvae chew through cardboard and thin plastic without much difficulty. Be ruthless. One missed infested box restarts the whole problem.
2. Clean Food Storage Containers with Hot Water and Soap
Everything that was in the pantry gets washed. Every container, jar, bin, lid, and shelf liner. Use hot soapy water and scrub, paying attention to the grooves in lids and the joints where egg clusters hide. Rinse well and dry completely before putting anything back.
For wire shelving, use a scrub brush to get into the channels. Wooden shelves are trickier – larvae and eggs work their way into the grain. Wipe them thoroughly with undiluted white vinegar after washing, and let them air dry completely before relining. If you have shelf paper, throw it out and start fresh – eggs get under shelf paper and are nearly impossible to remove without replacing it.
Moths can lay eggs in spots you’d never think to check on a casual wipe-down. Get the top edges of containers, the undersides of lids where they seal, and the outside surfaces of bags that stored anything dry. The goal is eliminating every trace of eggs, webbing, and food residue – not just making things look clean.
3. Heat Vinegar and Spray Into Cracks
Once the shelves are empty, spray the interior of the pantry. Mix equal parts white vinegar and water in a spray bottle, heat it in the microwave for 30 seconds (it works better warm), and spray into every corner, crack, shelf bracket, and wall joint. Let it sit for a few minutes, then wipe down.
The acidity disrupts eggs and repels adults. The smell dissipates fast – you won’t have a vinegar-scented pantry. Do this before restocking.
4. Add Baking Soda or Salt to Vinegar for Pantry Moths
For extra cleaning power on the shelf surfaces, upgrade the vinegar spray. Mix 2 cups white vinegar with 1 tablespoon baking soda or 1 tablespoon salt. The particles add a mild abrasive that helps scrub off egg clusters and webbing stuck in grooves, while the vinegar handles the chemistry.
Spray directly onto shelves, let it foam for 5 minutes, then wipe. Particularly useful for textured or ridged wire shelving where eggs get embedded. This is for hard surfaces only – don’t use it on anything fabric.
5. Lock Down Food Storage
The whole reason this happened is that standard food packaging isn’t sealed against determined insects. Moths detect food through cardboard, thin plastic bags, and loosely fitting lids. Once they’re in the pantry and find a food source, the population builds fast.
Going forward: everything loose goes into hard containers with tight-fitting lids. Glass jars, hard plastic with gasket seals, or metal tins. Flour, sugar, rice, pasta, cereal, crackers, oats, dried beans, nuts, pet food – everything that came in a bag or box. Mason jars handle smaller quantities well. Larger bins with rubber gaskets work for bulk items. Ripe fruit goes in the refrigerator, not on the counter. A fully sealed pantry removes their reason to be there.

6. Group Remaining Items in One Area to Monitor
After cleaning and restocking, consolidate everything uncontaminated into one zone of the pantry. This makes it much easier to spot a recurrence – you’re checking a smaller, defined area instead of the whole cabinet.
Keep this grouping in place for 2-3 weeks and check daily for new webbing, larvae, or adults. Look specifically at container lids, the undersides of shelves, and the corners where shelves meet walls – those are the spots eggs get missed. If you see activity, something got missed and you need to go back through the inspection process. No activity after three weeks and you’re clear to redistribute.
Pheromone traps are a useful addition during this monitoring phase. They use the same chemical signals moths use to locate mates, and they catch adults before they can breed. Stick one near your consolidated items. They won’t solve an infestation but they give you an early warning system – if you’re catching adults in the trap, the problem isn’t fully resolved.
7. Take Out Trash Regularly
The kitchen trash is the last piece. When you’re purging infested food, bag it up immediately and take it outside to the outdoor bin – don’t let contaminated food sit in the kitchen trash. Larvae in a sealed bag inside a warm kitchen will still hatch.
During an active infestation and for a few weeks after, take the kitchen trash out daily. Double-bag heavily infested materials if your outdoor bin is far from the door. The point is removing the food source from the building entirely, not just relocating it to the next room.
Also check the recycling. Cardboard boxes and paper bags from food packaging can harbor eggs, and recycling bins left in a warm garage become a secondary infestation site. Break down food packaging flat and get it out of the house on the same schedule as the trash.