Table of Contents
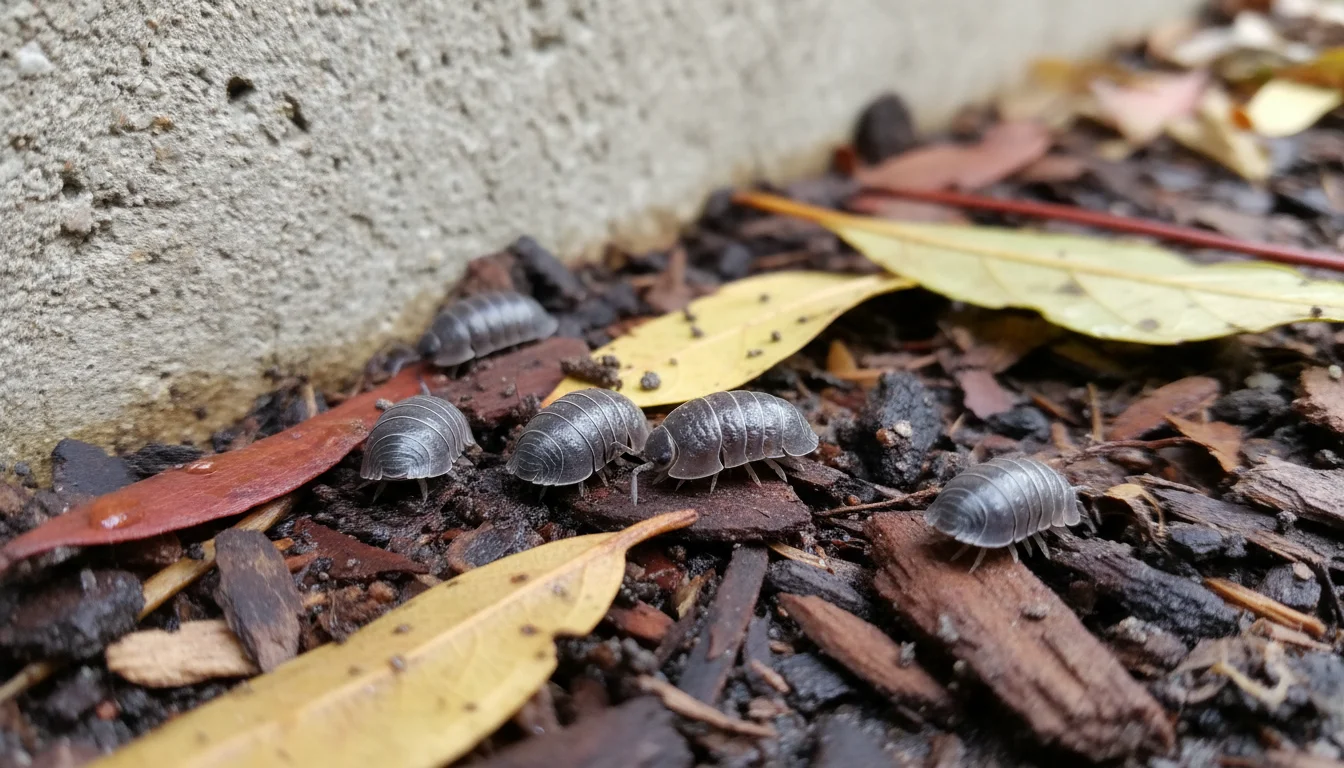
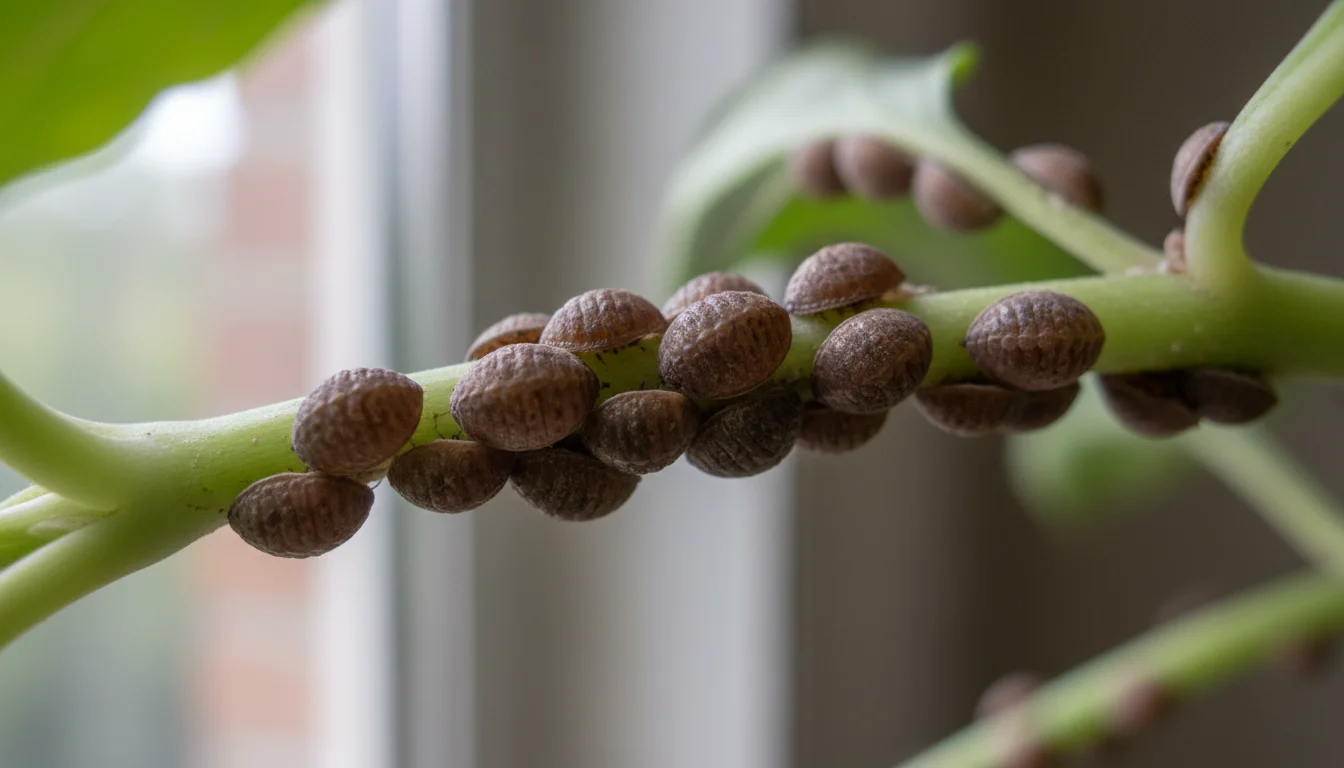
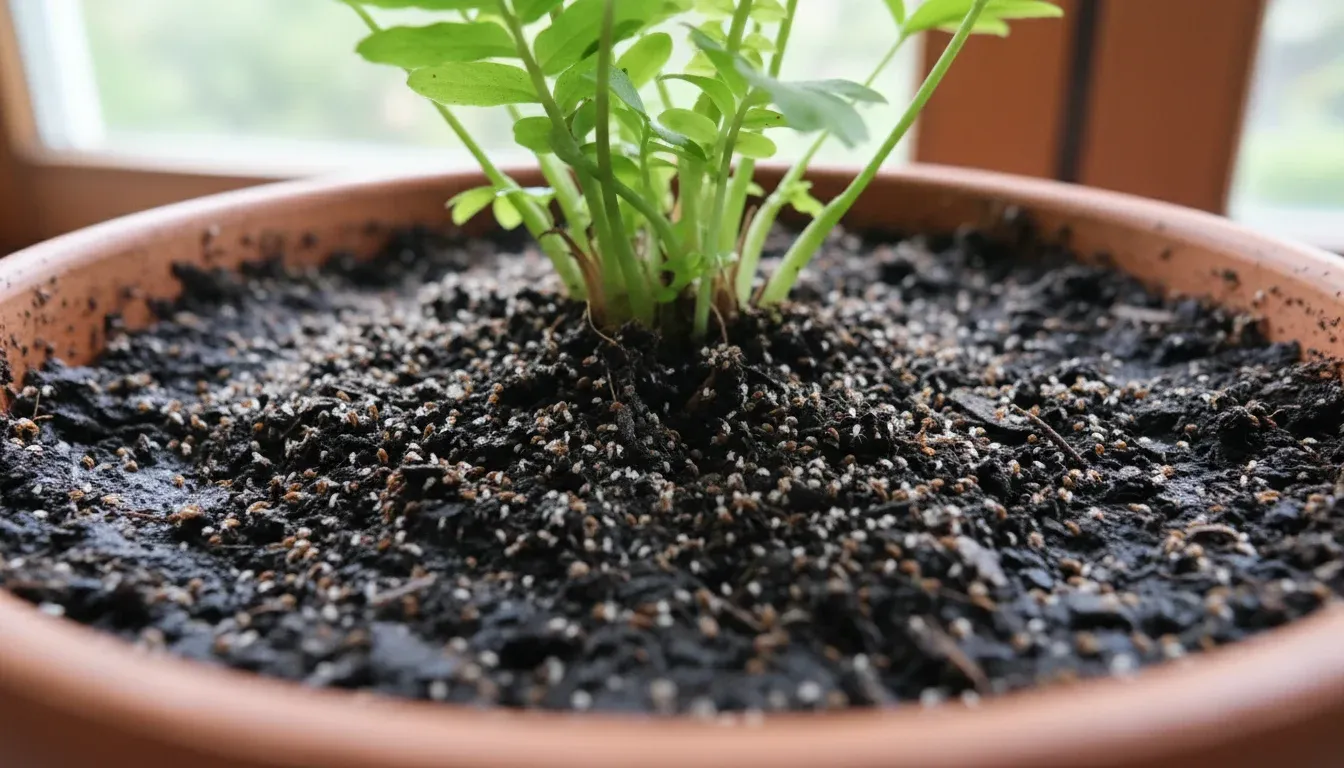
Soil mites look like tiny moving dots in your potting mix. Most species feed on decaying matter and won’t harm plants, but heavy infestations indicate moisture problems that attract fungus gnats and root rot. Some species bite plant roots. If you see hundreds crawling on the soil surface or along pot rims, it’s time to intervene.
These arthropods thrive in damp, organic-rich environments. Overwatered houseplants, compost bins, and garden beds with poor drainage become breeding grounds. While a few soil mites are normal in any healthy soil ecosystem, population explosions signal conditions that need correction – and fast action prevents the problem from spreading to your entire plant collection.
1. Release Predatory Mites for Biological Control
Buy Stratiolaelaps scimitus (also called Hypoaspis miles) from garden suppliers. These predatory mites eat soil mite eggs and larvae without harming plants. Sprinkle them across the soil surface at the manufacturer’s recommended rate – typically 10,000 predators per 100 square feet for houseplants.
Water lightly after application so predators burrow into the top inch of soil where pests live. They establish colonies and continue hunting for 6-8 weeks. This method works best for ongoing prevention in greenhouses or collections with recurring infestations. The predators die off naturally once the pest population drops.
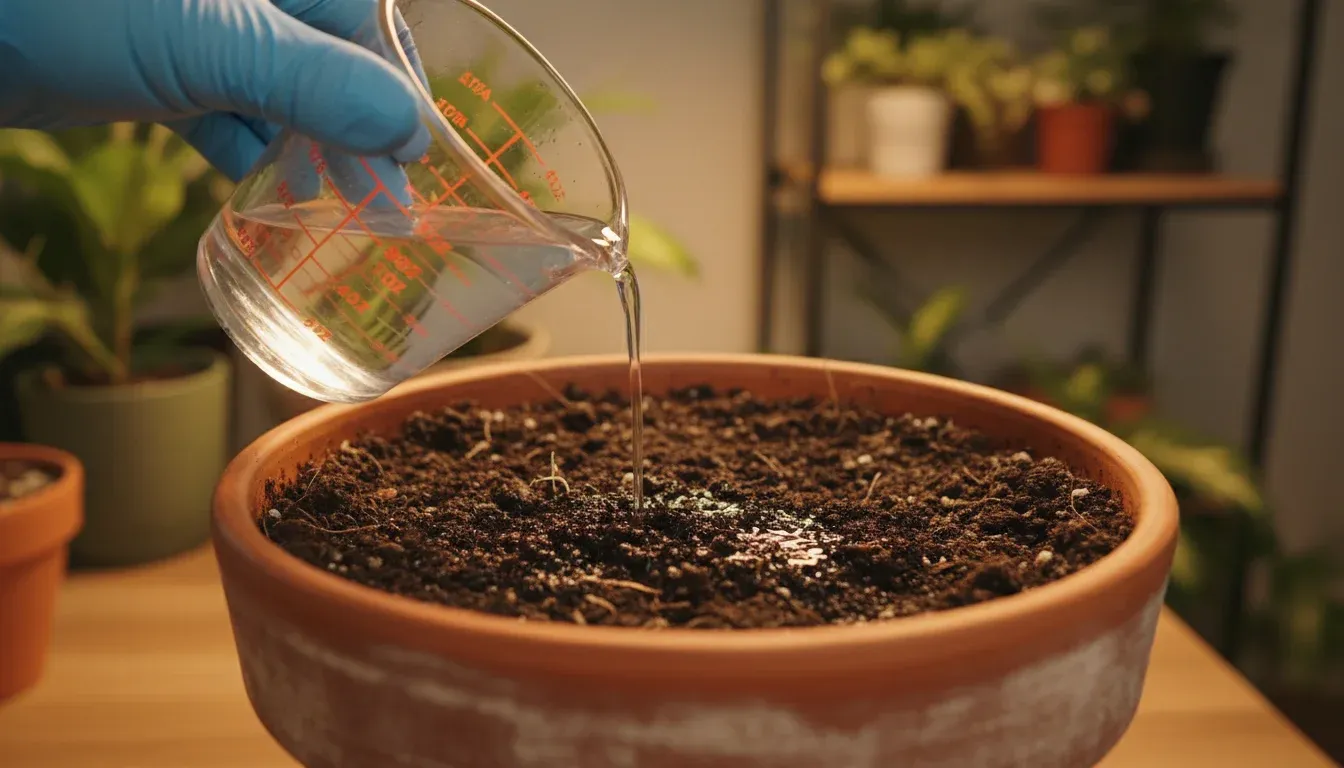
2. Apply Hydrogen Peroxide Soil Drench
Mix one part 3% hydrogen peroxide with four parts water. Pour the solution directly onto the soil until it drains from the bottom of the pot. The peroxide kills mites, larvae, and eggs on contact while adding oxygen to compacted soil.
Repeat weekly for three weeks to catch newly hatched mites. This method also eliminates fungus gnat larvae and helps prevent root rot in overwatered plants. The solution breaks down into water and oxygen within hours, leaving no harmful residue. Wait 2-3 days before resuming normal watering.
3. Solarize Infected Plants in Sealed Bags
Remove heavily infested plants from their pots and seal the entire plant (soil and all) in a clear plastic bag. Place the bag in direct sunlight where temperatures reach at least 100°F. The heat kills mites, eggs, and larvae within 4-6 hours.
This works best on small potted plants during summer months. Use a soil thermometer to verify the temperature inside the bag. After solarization, shake off the treated soil and repot in fresh, sterile potting mix. The heat sterilizes the soil, killing beneficial organisms too, so use this as a last resort for severe infestations.
4. Replace the Top Layer of Soil
Remove the top 1-2 inches of infested soil and discard it in a sealed plastic bag. Replace it with fresh, sterile potting mix from an unopened bag. Soil mites concentrate in the upper layer where organic matter decomposes.
Top-dress with a half-inch layer of horticultural sand or perlite to create a dry barrier that mites can’t cross easily. This physical barrier also deters fungus gnats. Water from the bottom by setting pots in trays rather than pouring from above – mites spread through splashing water.
5. Use Neem Oil Solution
Mix 1-2 tablespoons of pure neem oil with one quart of water and add a few drops of liquid soap as an emulsifier. Pour the solution directly onto the soil surface, avoiding the plant’s foliage. Neem oil disrupts the mites’ reproductive cycle and suffocates adults.
Apply every 7-10 days for three weeks to break the breeding cycle. Neem also controls fungus gnats and acts as a mild fungicide. The soil may smell earthy for a day or two after application. This method works well for moderate infestations when combined with improved watering practices.
6. Sprinkle Diatomaceous Earth on Soil Surface
Apply a thin layer of food-grade diatomaceous earth (DE) across the entire soil surface. The microscopic sharp edges cut through the mites’ exoskeletons, causing dehydration and death. Wear a dust mask during application – DE irritates lungs if inhaled.
Reapply after watering since moisture makes DE ineffective. This method provides immediate control but requires consistent reapplication. DE also kills beneficial soil organisms, so use it strategically on problem plants rather than your entire collection. Vacuum up excess DE before watering to prevent clumping.
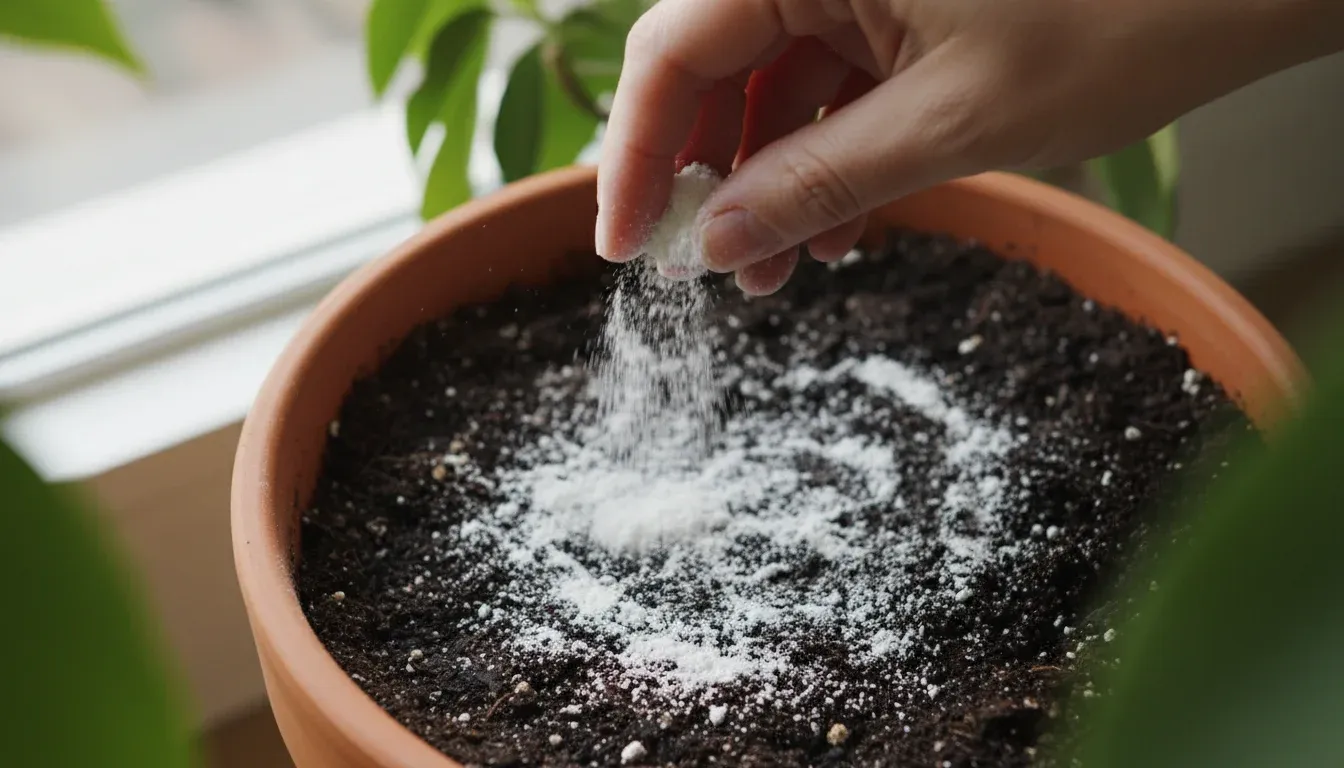
7. Dust with Cinnamon Powder
Sprinkle ground cinnamon over the soil surface. Cinnamon contains cinnamaldehyde, which repels soil mites and inhibits fungal growth that attracts them. Apply a light dusting – about 1/4 teaspoon per 6-inch pot.
Reapply every 2-3 weeks or after heavy watering. This gentle method suits sensitive plants and organic gardens. While less aggressive than chemical treatments, cinnamon works well for minor infestations and prevention. The spice smell fades within a few days.
8. Create a Drier Environment
Let the top 1-2 inches of soil dry completely between waterings. Soil mites need constant moisture to thrive. Use your finger to check soil dampness before adding water – if the top inch feels dry, it’s time to water.
Increase air circulation with fans to speed soil surface drying. Remove humidity trays from under pots. This cultural control tackles the root cause of infestations. Most houseplants tolerate drier conditions better than constant moisture. Adjust your watering schedule seasonally – plants need less water in winter when growth slows.
9. Sterilize New Soil Before Use
Spread fresh potting soil in a thin layer on a baking sheet. Heat in the oven at 180°F for 30 minutes, monitoring with a soil thermometer. This kills any mites, eggs, or other pests hiding in "sterile" commercial mixes.
Let the soil cool completely before using. The process releases an earthy smell, so open windows during sterilization. Alternatively, microwave small amounts of moist soil in a covered container for 90 seconds per pound. Always add soil from unopened bags to minimize contamination risk.
Your soil mite problem stems from environmental conditions you can control. Fix the moisture issues, and the mites lose their habitat. Start with the simplest solutions – better watering practices and fresh top soil – before moving to more aggressive treatments. Most infestations resolve within 2-3 weeks when you combine multiple methods and stay consistent with the new care routine.