Table of Contents
Thrips are tiny enough to hide inside flower buds and new growth tips, which is why spray treatments often underperform – you’re hitting the adults on the surface while the next generation is tucked away where nothing can reach them. Worse, mature thrips drop from the plant to pupate in the soil before emerging as new adults. That soil stage is why people get stuck in a loop of spraying, seeing improvement, then watching the problem bounce back. You need to address the leaf surface and the soil at the same time. The methods below attack thrips at every stage: fast physical knockdown, mechanical removal, contact treatments, soil-stage control, and biological options for the long term.
1. Blast Them Off With Water
The fastest way to reduce an outdoor infestation by half before doing anything else. Take the plant outside (or use a garden hose) and hit all surfaces with a strong jet of water, working your way under the leaves where thrips cluster and feed. The force dislodges adults, nymphs, and eggs that haven’t hatched yet. Unlike most spray methods, this works immediately and leaves no residue.
Let the plant dry fully before moving it back. For garden beds, run the hose every morning for a week – it disrupts feeding patterns and keeps the exposed population down while your other treatments work through the lifecycle. Best on sturdy plants; delicate foliage or small seedlings may need the gentler cloth method instead.
2. Prune Away Heavily Infested Growth
Cut off any leaves, stems, or flowers that are heavily damaged or visibly covered. These are breeding grounds, not salvageable plant parts. Make cuts just above a node, seal the pruned material in a plastic bag immediately, and bin it. Do not compost it – thrips survive composting and you’ll spread the infestation. This one step knocks the population down before you apply anything else, which makes every subsequent treatment more effective.
3. Wipe Leaves With a Damp Cloth
After pruning, wipe down remaining foliage with a cloth dipped in soapy water. Both sides of every leaf – thrips concentrate on new growth tips and undersides, not the big flat surfaces that are easiest to reach. The soapy water kills insects on contact while the wiping physically removes them and their eggs. Labor-intensive, but it gives you direct feedback: if you’re getting clean cloths after the second pass, you’re making progress. Check plants every few days and repeat until there’s nothing left to wipe off. For small houseplant collections, this combined with soap spray is often enough on its own.
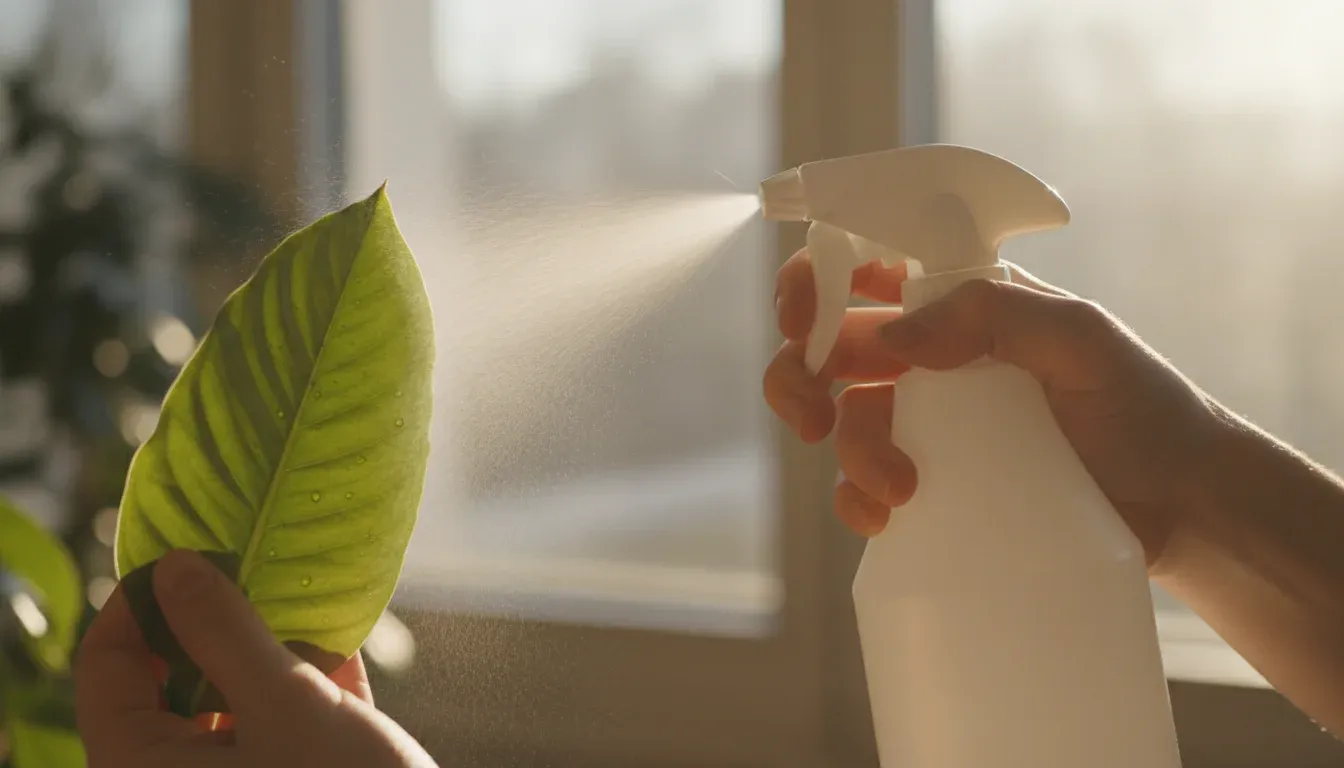
4. Insecticidal Soap
The fastest spray kill available without going to synthetic chemicals. Mix 1 tablespoon of pure liquid castile soap with 1 quart (1 L) of water – don’t use dish soap with antibacterial agents or degreasers, they’ll damage leaf tissue. Spray all surfaces until dripping, especially leaf undersides and stem joints. The soap needs to make direct contact to work; once it dries it’s inert, so coverage matters more than volume. Reapply every 5-7 days to catch newly hatched nymphs before they mature and reproduce.
5. Neem Oil
Where soap handles the immediate adults, neem oil handles the lifecycle. It disrupts thrips’ ability to feed and develop through larval stages, and acts as a repellent for adults. Mix 1-2 tablespoons per 1 gallon (3.8 L) of water with a few drops of dish soap as an emulsifier. Apply in early morning or evening – midday application with sun on wet leaves causes burns. The smell is strong but fades within a day. Reapply every 7-10 days for at least three cycles. Neem doesn’t work in a single application; the systemic effect builds over repeated treatments.
6. Diatomaceous Earth on the Soil
This is the step most guides skip. When thrips finish feeding on leaves, they drop into the top layer of soil to pupate. Dusting food-grade diatomaceous earth across the soil surface kills them during this vulnerable stage before they can emerge as new adults. Apply to dry soil only – wet DE turns to paste and loses effectiveness completely. A Reddit gardener noted it "instantly slowed things down" once they switched to applying on dry topsoil and stopped watering from above. Reapply after any watering or rain. It’s slow, but it cuts off the reproductive cycle at a point spray treatments can’t reach.
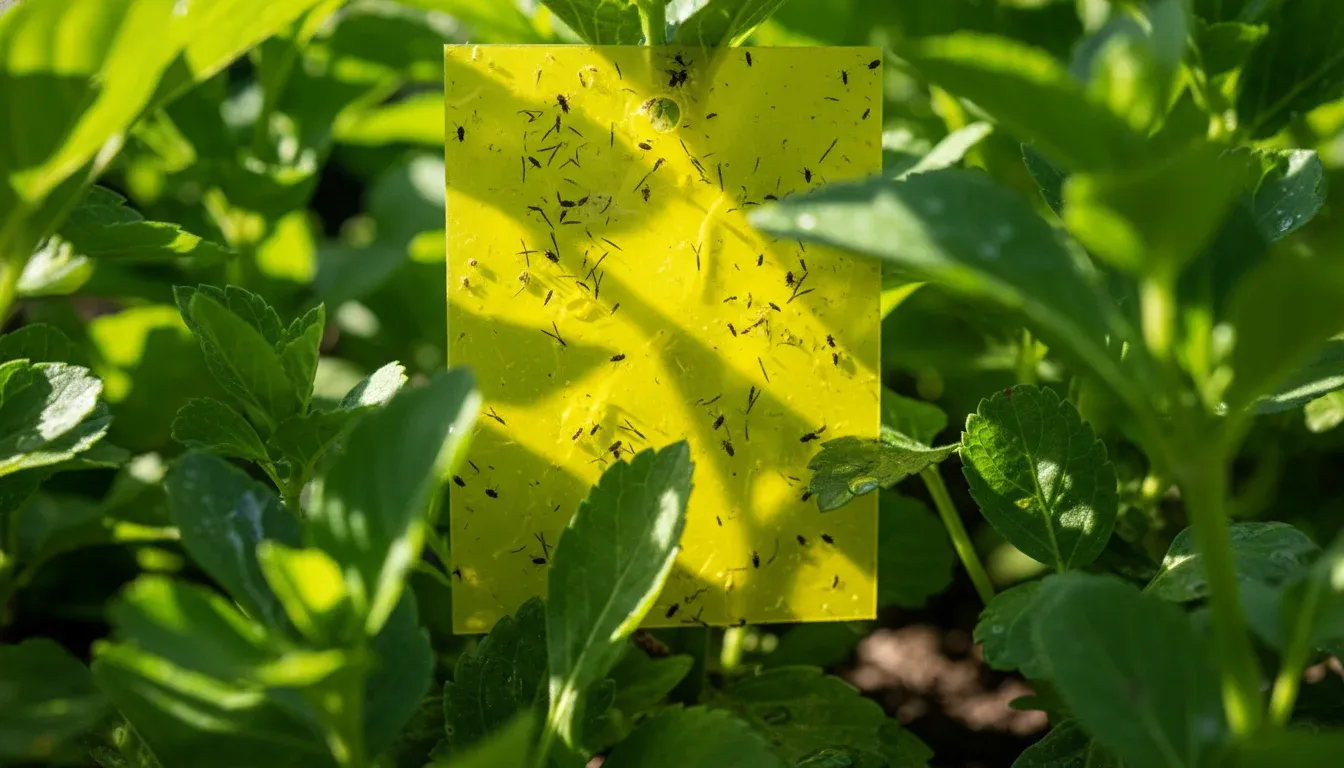
7. Yellow Sticky Traps
Thrips are drawn to yellow. Hang traps just above foliage height – roughly one trap per 10 sq ft (0.9 sq m) of growing area. The main value here isn’t volume of kills; it’s data. What you catch tells you whether the population is declining and where activity is concentrated. Once traps go from covered to sparse, you know the other treatments are working. Replace when full or when stickiness fails.
8. Release Beneficial Predators
For outdoor gardens or persistent greenhouse infestations, biological control is the long game. Minute pirate bugs, lacewing larvae, and predatory mites all prey on thrips across every life stage. Order from a garden supply company and release in the evening when they’re less mobile and less likely to disperse before establishing. Release in waves over 2-3 weeks rather than all at once. Don’t use any broad-spectrum sprays (including neem) for at least a week before or after release – you’ll kill the predators along with the thrips.
Thrips cycles run about 2-4 weeks depending on temperature. You need to stay consistent with treatments across at least two full cycles to break the infestation rather than just suppress it temporarily. Most people quit too early, see the population rebound, and think the method failed. It didn’t – the cycle wasn’t finished.