Table of Contents
Ants in your walls and foundation aren’t a spray-and-done problem. By the time you’re seeing workers trailing inside, there’s almost certainly a colony established somewhere in the structure – probably in soft, moisture-damaged wood or in a wall void with a crack they found before you did. Surface treatments mask the problem temporarily but don’t fix why they’re there. These seven methods tackle the actual causes.
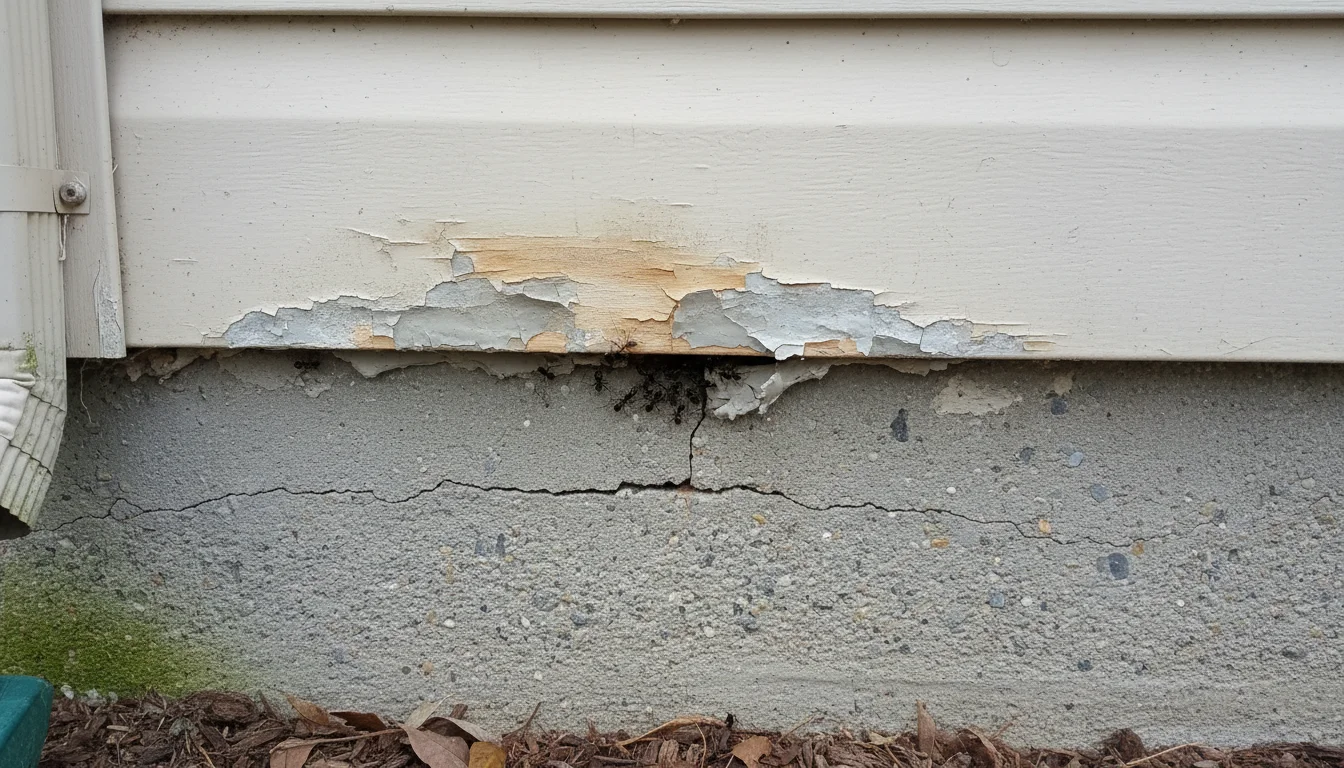
Seal Entry Points
Start here, because every other method is wasted effort if ants have open access. Walk the full perimeter of your foundation and check where utility lines enter, where siding meets the concrete, gaps around window and door frames, cracks in the masonry, and any spot where two different materials meet. Even a 1/16 in (1.5 mm) gap is enough.
Seal cracks in concrete with hydraulic cement or masonry caulk. Pack steel wool into larger gaps before applying expandable foam – ants can chew through foam alone, but not steel wool. For gaps around pipes and conduits, use copper mesh and caulk over it. Any gap wider than a pencil needs hardware cloth cut to fit and screwed in before sealing.
Check secondary structures too. Sheds, detached garages, and decks often have gaps that give ants a staging area close to the house. A single missed entry point undoes everything else.
Diatomaceous Earth
Food-grade diatomaceous earth works well in wall voids and foundation gaps that you can’t physically seal. The fine powder destroys the waxy coating on ant exoskeletons, causing dehydration. Puff it into cracks with a squeeze applicator or a turkey baster – you want a thin coating, not packed powder.
It’s slow. You won’t see results overnight. But it keeps working as long as it stays dry, which makes it useful in areas that are difficult to treat repeatedly. Reapply after any moisture intrusion. Use it as part of the system, not the whole solution.
Eliminate Moisture Sources and Leaks
Ants need water, and carpenter ants specifically seek out damp wood. A slow drip under the kitchen sink, condensation from a cold water pipe, or failed exterior caulk letting rain in – any of these can sustain a colony. Fix every drip and slow leak you find.
Check under all sinks, around the base of toilets, and around tubs and showers where caulk may have cracked. If you see ants concentrated near the bathroom, assume there’s a plumbing leak in the adjacent wall. Probe suspect wood with a screwdriver: if it sinks in easily, you’ve found the nest site.
Basement and crawl space dehumidifiers help too. The goal is getting ambient moisture below 50% relative humidity where carpenter ant colonies won’t thrive.
Replace Water-Damaged Wood
Carpenter ants don’t eat wood – they excavate it. And they prefer wood that’s already compromised by rot. Rotted fascia boards, soft window sills, punky sill plates, moisture-damaged framing near foundation penetrations – all of it is preferred nesting habitat.
Probe any wood that looks discolored, soft, or swollen. If it’s compromised, cut it out. Replace with pressure-treated lumber rated for ground contact at any point near the foundation, and use rot-resistant species for everything else. Fixing the leak that caused the rot is essential – new wood in a still-wet situation just restarts the clock.
Carpenter ant frass looks like coarse sawdust sometimes mixed with ant body parts. Find it, and you’ve found an active colony site.
Trim Vegetation Away from House
Tree branches that touch your roof or overhang your foundation are ant highways. They climb the tree, walk the branch, and step directly onto your structure – bypassing any perimeter treatments. Trim branches so there’s at least 6 ft (1.8 m) of clearance from your roofline, soffits, and siding.
Shrubs and bushes touching the foundation hold moisture against the wood, block inspection, and give ants direct contact with the structure. Pull them back at least 12 in (30 cm).
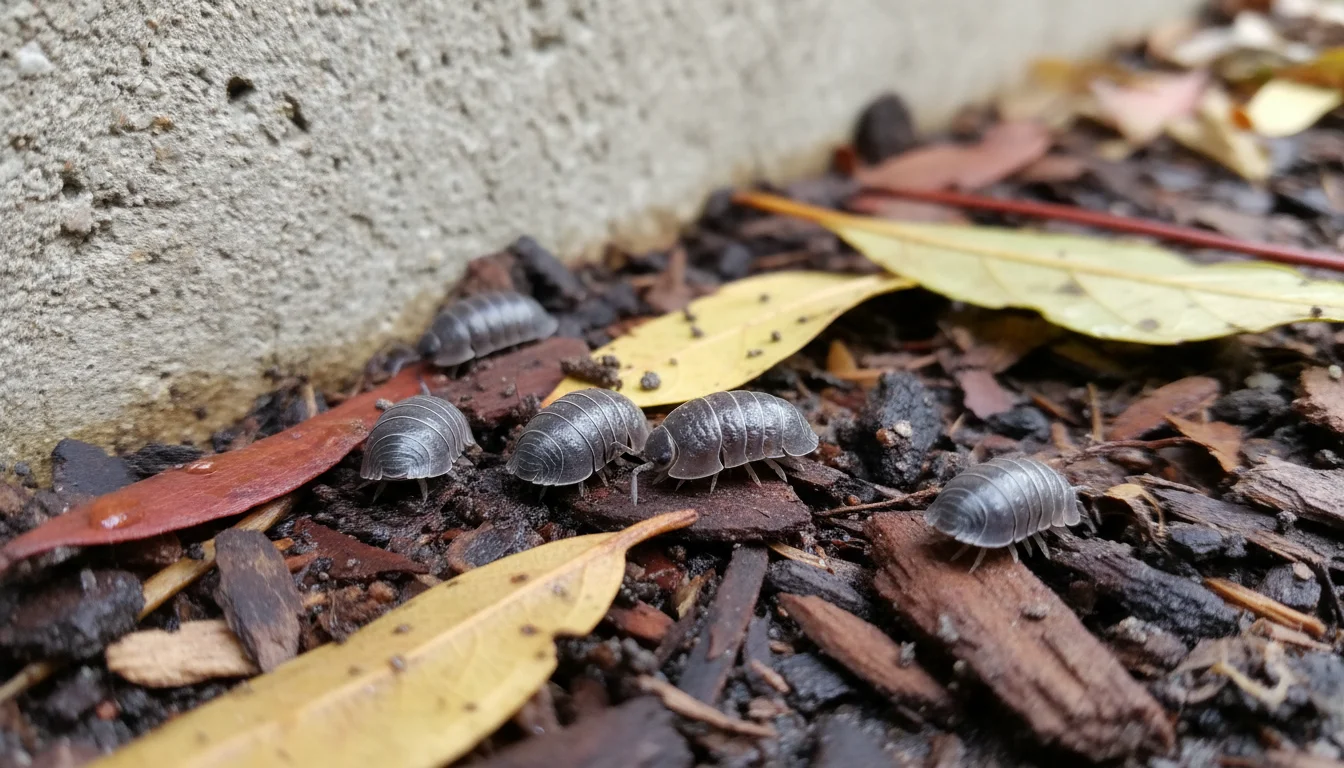
Remove Mulch and Debris from Foundation Perimeter
Wood mulch right against your foundation is one of the most common reasons people deal with recurring ant problems. It holds moisture, provides nesting material, and gives ants something to live in a few inches from your sill plate.
Create at least a 12 in (30 cm) bare zone between any mulch and your foundation. Swap wood chips for river rock or pea gravel in that zone – stone doesn’t retain moisture or give ants anything to nest in. Firewood stacked against the house needs to move: at minimum 20 ft (6 m) away and up off the ground on a rack. Leaf piles, grass clippings, and any organic debris against the foundation create the same problem. Clear it out.
Treat in Late Winter or Spring Preventively
Timing matters a lot. Ant colonies are smallest and most stressed in late winter and early spring, right when they’re emerging from dormancy and scouting for food. A single perimeter bait treatment in March or April can intercept an entire colony before it builds momentum for the season.
Apply granular bait around your foundation perimeter and at any spots where you found entry points or ant activity the previous year. Outdoor bait stations work well near foundation corners and along shadier sides of the house where moisture collects. Workers carry the bait back to the colony and wipe it out at the source.
Summer treatments are much harder. Colonies are at peak population and workers are sourcing food from multiple directions. If you miss spring, you’re fighting a much larger fight. Put it on your calendar for late February and the problem gets a lot more manageable.