Table of Contents
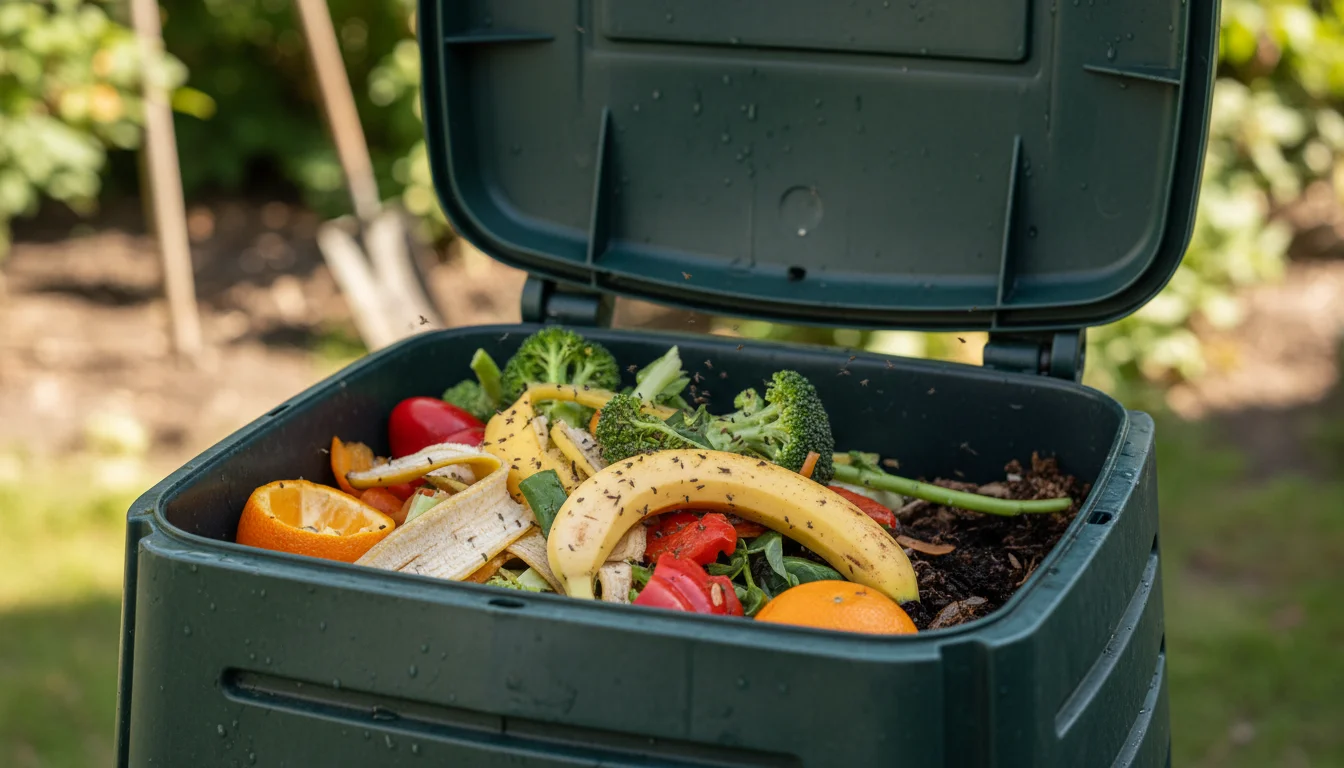
Got fruit flies from compost? The pile itself isn’t the problem. The scraps sitting on top of it are.
Fruit flies from compost are almost always being produced by surface scraps, not the pile itself. Fresh food scraps left exposed broadcast fermenting volatiles that adults can detect from a surprising distance. The moment you bury those scraps, most of the attraction disappears. Do that first, and the problem usually resolves within a few days without any other intervention.
If you’ve also got fruit flies hovering around an indoor collection bin, that’s a separate entry point with a slightly different fix. Both are covered below.
1. Bury Food Scraps in Compost
Every time you add food scraps to the pile, dig a hole first. Drop the scraps in, then cover with at least 4 inches (10 cm) of existing compost material. Pack it down a bit. Surface scraps are the primary attractant – burying them interrupts the scent signal that’s drawing adults in.
Use a dedicated tool: a stout hand trowel or long-handled cultivator works better than improvising. Make a real pocket in the pile, not a surface scrape. You want the material fully covered, not just pushed around.
A few specifics that matter:
Rotate your burial sites around the pile rather than always using the same spot. Concentrating scraps in one area creates a wet anaerobic zone that takes longer to break down and stays warm and attractive.
If you’re composting meat, fish, or dairy (not universally recommended, but people do it), go to 8 inches (20 cm) minimum. Those materials off-gas more aggressively than fruit and vegetable waste.
For indoor countertop bins used for collection before transfer: keep the lid on, and move the contents to the outdoor pile every 2-3 days rather than weekly. The shorter the dwell time, the less odor builds up.
This one habit change handles most infestations on its own. Everything else here is either parallel support while you wait for the adults to die off, or prevention for after the problem clears.

2. Add Carbon Layer to Compost
After every addition of scraps, cover them with a layer of brown carbon-rich material: dry leaves, straw, shredded cardboard, wood chips, or sawdust. Aim for a rough 2:1 or 3:1 ratio of carbon to nitrogen materials by volume. The carbon layer acts as both a physical and odor barrier.
This also improves the pile’s overall performance. A nitrogen-heavy pile (lots of food scraps, not enough browns) stays too wet, smells more, and decomposes slowly. Balancing the ratio speeds breakdown and reduces the attractive window for each batch of scraps.
Keep a bin of brown material right next to the compost pile so it’s a reflex rather than a trip to find something. Dry leaves in autumn stored in a bin for year-round use is the cheapest option. Straw works well. Torn-up cardboard is fine. Avoid pine sawdust (too acidic) and hay (seeds germinate in the pile).
Don’t overdo it. If the pile barely seems to shrink over months, the ratio is too carbon-heavy. Add more greens and some water.
3. Apple Cider Vinegar Traps (Catch Fruit Flies from Compost Fast)
While you’re fixing the source, run ACV traps to knock down the adult population. This doesn’t solve anything on its own – the traps don’t affect larvae, and if you don’t address the pile management, adults will just keep emerging – but they do reduce how many are flying around while you wait for the bury-and-layer approach to take effect.
Pour about 2 fl oz (60 ml) of apple cider vinegar into a small bowl or jar near the compost area. Add 2-3 drops of dish soap and stir lightly. The soap breaks surface tension so flies drown on contact rather than landing and escaping. Refresh daily.
White vinegar won’t work. Fruit flies track the fermented smell specifically. If the traps stay empty after 24-48 hours, you may have fungus gnats rather than fruit flies – they look similar at a glance and both show up in compost. Either way, the pile management methods above work for both.
4. Turn and Aerate Compost Pile
Turn the pile once or twice a week with a digging fork or compost aerator. Move material from the outside toward the center and vice versa.
Two things happen when you do this. First, larvae developing in the cooler outer layers get pulled into the hot center, where temperatures run 130-160°F (55-71°C) and most don’t survive. Second, the oxygen introduction ramps up microbial activity, which means scraps decompose faster and spend less time as attractants.
The disruption alone does something useful too. Adults lay eggs on stable surfaces. Regular turning removes those surfaces and buries fresh ones, repeatedly breaking the cycle.
Every 2-3 days is better than weekly. A compost aerator tool (a rod with fold-out paddles) works fine for smaller piles. For anything over a few cubic feet, a digging fork is more effective – you want full layer inversion, not just surface stirring.
If the pile smells like ammonia after turning, it’s nitrogen-heavy and too wet. Add carbon material and leave the pile open a bit to let moisture escape before the next turn. If the pile smells like nothing and shows no decomposition, it’s too dry or too carbon-heavy. Add water and some fresh green material.
Note: very small piles (under 3 cubic feet) rarely reach the temperatures needed to kill larvae by heat. The physical disruption still helps, but combine it with the other methods rather than relying on it alone.
5. Use a Sealed Compost Bin
If you’re running an open pile or a wire cage setup and dealing with persistent problems despite good management habits, switching to a sealed bin is the structural fix.
A sealed bin with a tight-fitting lid and solid or fine-mesh base physically blocks access. Look for:
Tight lid seal: Test it before you buy. A lid that gaps or can be nudged open doesn’t help.
Solid or close-mesh base: Pests can enter through the bottom on bins that sit directly on loose soil. Either use a model with a solid base (with small drainage holes) or set the bin on a paved surface.
Adequate ventilation with no access gaps: The bin needs airflow. Ventilation holes should be covered with fine mesh (1mm or smaller). Check older bins for damaged mesh.
Tumbler bins are the easiest option: fully enclosed, elevated off the ground, and the rotating design makes turning easy. The enclosed environment can dry out in summer, so check moisture regularly and add water when needed.
Even a sealed bin needs maintenance. Residue builds up on the inside walls near the lid and at seams over time. If you scrub these annually and check that vent mesh is intact, the bin keeps working. A cracked or warped lid that no longer seats properly is worth replacing – a $10 lid gasket is cheaper than fighting a reinfestation.
This is the right choice if you’ve done the burying and layering consistently and still have problems. For most people, the habit changes in methods 1 and 2 are enough.
6. Freeze Scraps Before Composting
This one addresses the indoor collection phase, which is where a lot of people actually have the problem – not the outdoor pile itself.
Instead of a countertop compost bin that collects scraps daily, keep a container in the freezer. Add scraps as you generate them. Transfer to the outdoor pile in batches when the container fills up, or on a weekly schedule.
Freezing kills eggs already on scraps before they ever reach the pile. Standard household freezer temperatures (-18°C / 0°F) kill eggs and larvae within 24 hours – one day is enough. And frozen scraps don’t off-gas at all, so the indoor collection period stops being an attractant.
The practical tradeoff: frozen then thawed scraps are wet and mushy, which makes them messier to handle. Use a container with a good seal that empties cleanly, and transfer them directly into a buried hole in the pile rather than dumping them on the surface.
This pairs well with method 1 – you’re eliminating the indoor attraction, then burying the scraps immediately on transfer. The problem essentially disappears from both ends.
FAQ
Why do I have so many flies in my compost?
Exposed surface scraps are the main cause. Fresh fruit and vegetable matter off-gases fermenting volatiles that adult flies can detect from a distance. The compost itself isn’t the draw – an undisturbed pile with scraps buried deep and covered with carbon materials won’t attract much activity. Start by burying scraps rather than leaving them on the surface, and turn the pile regularly.
How do I get rid of gnats in my compost bin?
The same methods work. Fungus gnats and fruit flies often co-exist in compost and look nearly identical at a glance – fungus gnats are slightly smaller with longer legs, but most people can’t tell them apart without magnification. Both breed in damp organic matter, both respond to burying, carbon layering, ACV traps, and regular turning. If your ACV traps aren’t catching anything, you’ve probably got fungus gnats rather than fruit flies, but the pile management approach handles both.
What’s the fastest way to get rid of fruit flies from compost?
ACV traps knock down the flying adults immediately. But they don’t affect larvae in the pile, and if you don’t change the management approach, adults will keep emerging. Run traps in parallel with burying scraps and adding a carbon layer – you’ll see a significant reduction within 2-3 days, and it’ll clear completely within a week as the adult population dies off without replacement.
How do I stop fruit flies in a food waste bin?
For indoor collection bins: keep the lid on at all times, empty every 2-3 days rather than weekly, and transfer scraps to the outdoor pile as soon as the container has anything that’s starting to ferment. A carbon filter insert in the lid helps contain the odor that draws adults. The easiest permanent fix is the freezer method – collect scraps in a sealed container in the freezer, and the indoor collection bin stops being a problem entirely.