Table of Contents
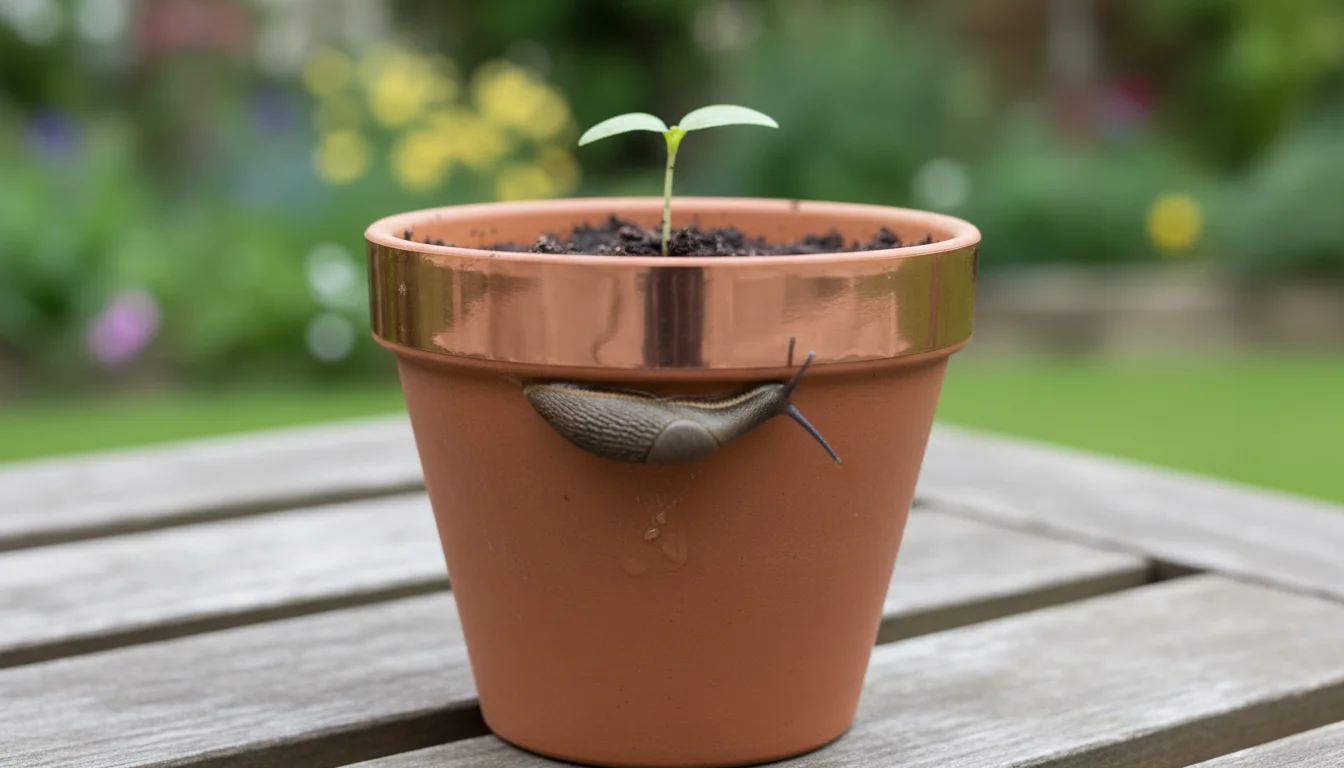
Barriers don’t kill slugs – they just make the journey to your plants not worth attempting. For seedlings, young transplants, and anything a slug can devastate in one night, a physical barrier is often the most reliable protection. Here are the four main options, what they actually do, and how to use them properly.
Blocking the Slug
Sharp grit creates an abrasive crossing that slugs will typically avoid. Slugs move on a layer of mucus – rough, angular particles disrupt this and make movement uncomfortable enough that most slugs turn around. Coarse horticultural grit, sharp sand, or fine gravel all work.
Create a band at least 2-3 inches (5-8 cm) wide around individual plants or raised bed edges. The sharper the grit, the better it works – building sand is too smooth and fine. The downside is obvious: rain and watering wash, compact, and embed the grit into soil over time, reducing its effectiveness. Top up after heavy rain. In very wet conditions this becomes a maintenance task rather than a one-time fix.
It’s not a perfect barrier – in heavy slug pressure or rainy nights, determined slugs will cross almost anything. But it’s cheap, completely non-toxic, and combined with other methods it reduces damage significantly.
Diatomaceous Earth
Food-grade DE is fossilized algae ground to a powder sharp enough to shred the mucus layer and protective coating on slugs, causing dehydration. Effective in dry conditions – spread a thin band around plants, pot rims, or across access points.
The problem with DE for slug control is the same as for grit: any moisture neutralizes it. One rainstorm and you’ve got clumped, ineffective paste. In a wet garden or wet climate, DE has limited practical use outdoors. It’s better suited to pot plants you can bring under cover, greenhouse staging, or any situation where you can keep the barrier dry.
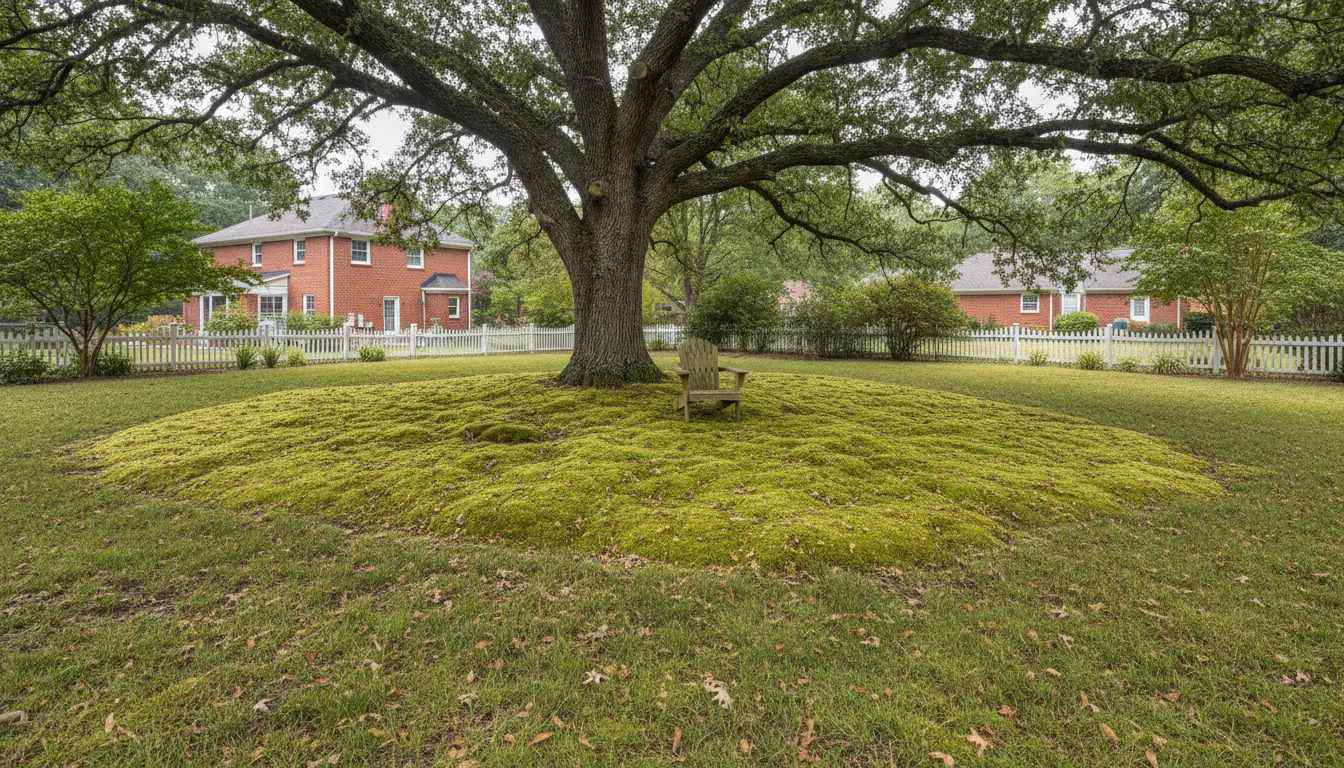
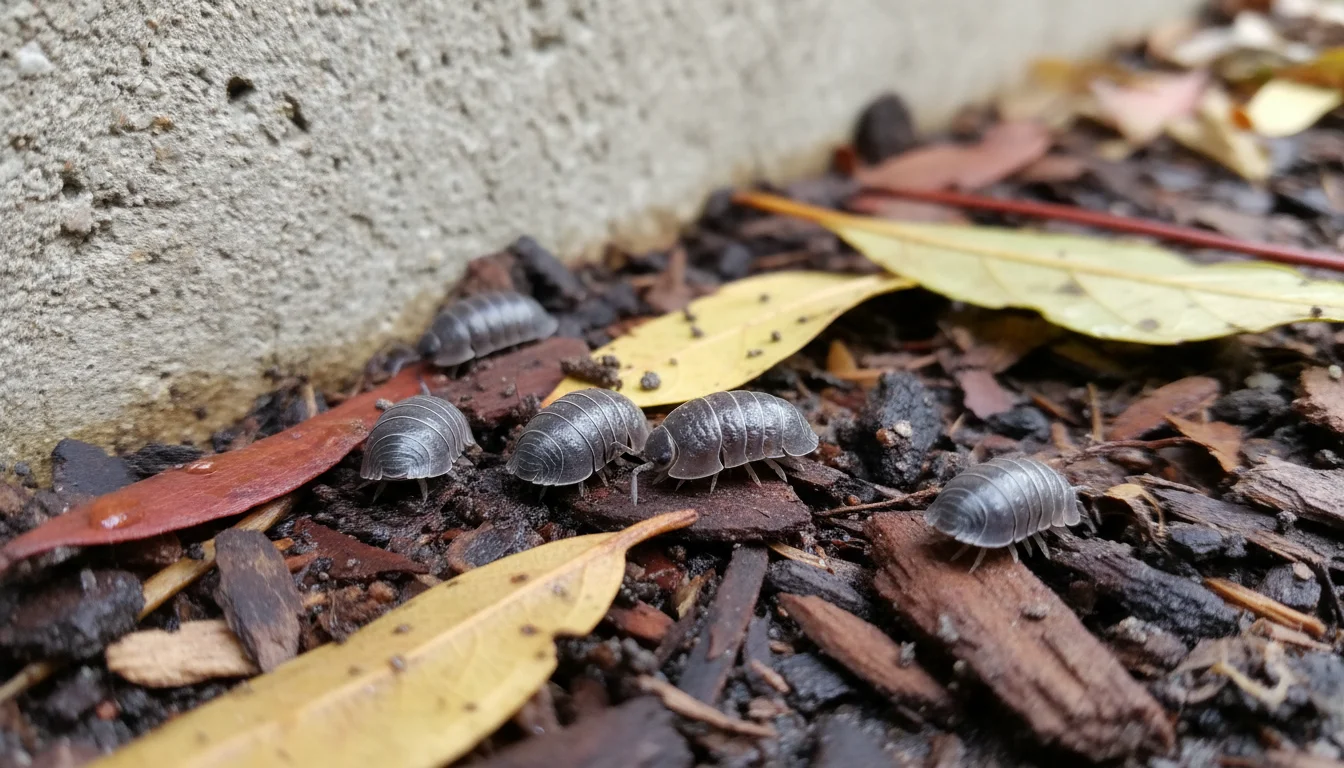
Once you’ve established a barrier and reduced the active population, the main task is keeping conditions unfavorable. Remove slug hiding spots (boards, dense ground cover against stems, debris piles) to reduce the local population pressure.
Copper Tape Barriers
Copper reacts with slug mucus to produce a mild electrical charge that slugs find unpleasant enough to stop crossing. Wrap copper tape around pot rims, raised bed edges, or individual containers. The reaction is real – this isn’t folk wisdom, it’s electrochemistry.
Use actual copper tape, not copper-colored decorative tape. The cheap stuff has a thin plating that oxidizes quickly and loses the reactive surface. Real copper tape (available at garden centers) maintains effectiveness for years and one roll handles dozens of pots.
Keep the tape clean – dirt and algae build-up on the surface reduces conductivity. A wipe down once a season keeps it working. And make sure no leaves or stems are bridging over the tape and giving slugs an easy bypass route – check regularly, especially as plants grow.
Propagation Dome
A propagation dome placed over seedlings or recently transplanted starts provides complete physical exclusion while the plant is at its most vulnerable. It also creates a warm, humid microclimate that promotes rooting and reduces transplant shock, which means the plant gets through the slug-target phase faster.
Use domes that fit snugly to the pot with a vent you can open for gradual air hardening. Leave the dome in place until foliage reaches the top or sides – at that point the plant is usually large enough to absorb some slug damage without being destroyed. When removing the dome, do it gradually over a few days by opening the vent progressively rather than going from sealed to fully exposed overnight.
This approach is most useful for the germination-to-established-plant window indoors or under cover. Once a plant is transplanted to open ground, you’re back to relying on the barrier methods above.