Table of Contents
Tape comes off. The adhesive doesn’t. Tape residue left behind by masking tape, packing tape, duct tape, or those price stickers that seemingly bonded with your belongings at the molecular level is annoying, but it’s not permanent. The right approach depends on what surface you’re dealing with and how long the residue has been sitting there. Older residue is harder because the adhesive partially cures over time, but every method here works on both fresh and aged gunk.
What Causes This Problem
Tape uses pressure-sensitive adhesive (PSA), a polymer that’s permanently tacky at room temperature. When you peel the tape off, the adhesive splits. Some stays on the tape backing, some stays on your surface. The ratio depends on how long the tape was there, what temperature it was exposed to, and the surface material.
Heat, time, and UV light all make it worse by cross-linking the polymer chains, which is why old tape residue feels harder and more stubborn than fresh stuff. This is also why tape left on windows (UV exposure) or near heating vents (thermal cycling) leaves worse residue than tape in a cool, dark closet. If you’ve ever tried to remove old masking tape from a window frame after a paint job six months ago, you’ve experienced this firsthand. The tape practically becomes one with the wood.
1. Rubbing Alcohol Adhesive Dissolve
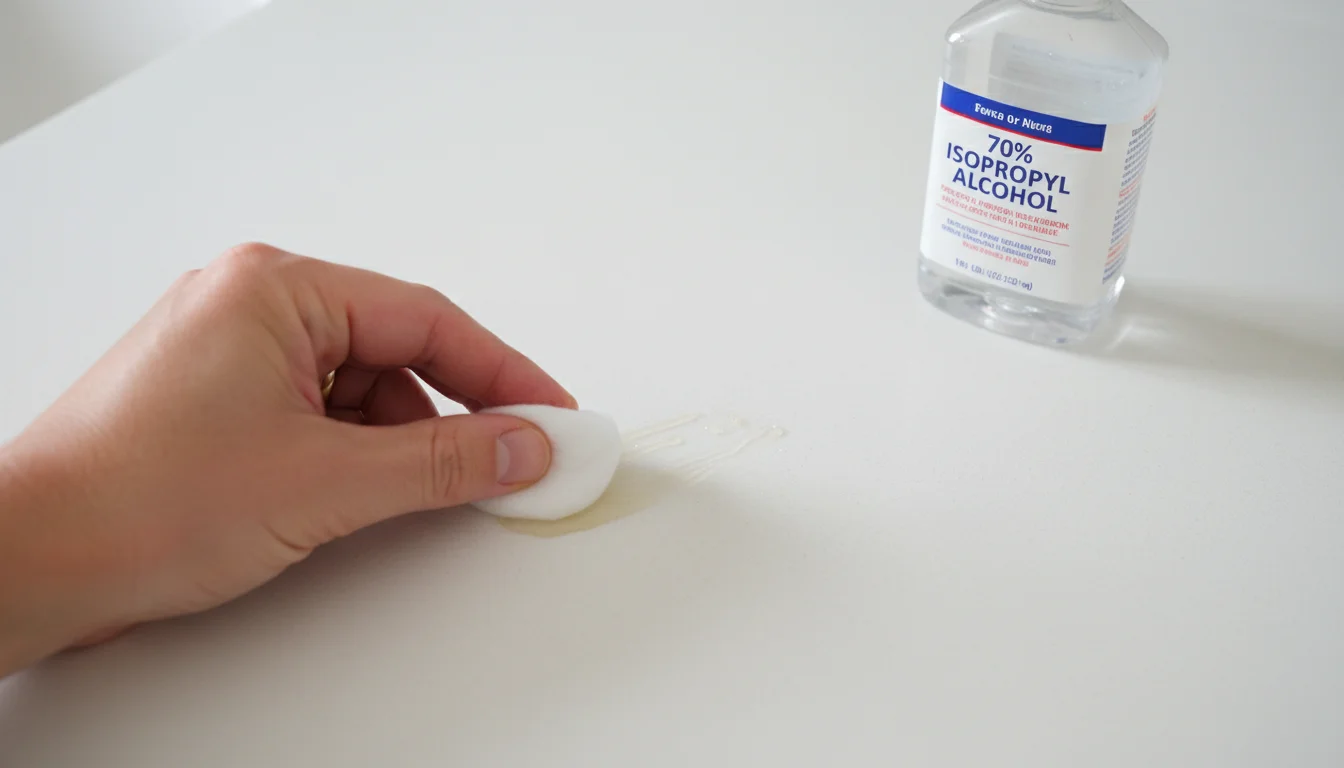
Soak a cotton ball or clean cloth in 70% isopropyl alcohol and press it onto the sticky residue for 30 seconds to a minute. The alcohol breaks down the adhesive polymers, turning them from a sticky film into a wipeable slurry. Rub gently in one direction to lift the dissolved residue. Repeat with a fresh alcohol-soaked cloth until the surface is clean.
Here’s the thing most people get wrong: 70% alcohol works better than 90% for this. The water content in the 70% formulation slows evaporation, giving the solvent more contact time with the adhesive. With 90%, you’re reapplying constantly because it flashes off before it can do its job.
Works on glass, metal, and most plastics. Avoid on lacquered wood or certain painted finishes where alcohol strips the coating. If you’re not sure, test a tiny spot somewhere hidden first. Hand sanitizer gel (the alcohol-based kind, not the benzalkonium chloride kind) works in a pinch too. The gel consistency keeps the alcohol in contact longer, which is actually an advantage on vertical surfaces where a soaked cloth drips.
2. Heat to Soften Adhesive
Point a hair dryer on its highest heat setting at the residue from about 6 inches (15 cm) away. Hold for 30 to 60 seconds until the adhesive softens and becomes pliable. While it’s warm, peel or wipe the residue away with a cloth or your fingers. Work in small sections and reheat as needed because the adhesive re-hardens quickly once you stop.
A hair dryer is enough for most household residue. A heat gun works faster but it’s overkill for tape gunk and can blister paint, warp plastic, or crack glass from thermal shock. Stick with the hair dryer.
This method is especially good for old, dried-out residue that laughs at chemical solvents. Heat re-mobilizes adhesive that’s been sitting there for years. Combine it with scraping (method 4) for the fastest results on thick, aged residue: heat a section, scrape while warm, repeat. The one-two combo handles residue that no single method can crack alone.
On car windows and bumpers, heat is usually the first choice because solvents risk damaging tinted film or automotive paint.

3. Oil to Dissolve Adhesive
Apply cooking oil, baby oil, or WD-40 directly onto the sticky residue. Let it soak for 5 to 10 minutes. The oil penetrates beneath the adhesive layer and breaks the bond between the glue and the surface. Rub with a cloth or paper towel in circular motions until the residue rolls off. Clean the oily film afterward with dish soap and warm water.
Any oil works. Olive oil, vegetable oil, coconut oil, whatever is closest. WD-40 is a petroleum-based penetrant that does the same thing but evaporates faster and leaves less of its own mess behind.
This is the safest option for finished or delicate surfaces (lacquered wood, painted furniture, antiques) where alcohol or commercial solvents might cause damage. The tradeoff is the cleanup step afterward. If you skip the soap rinse, you’ll trade sticky residue for an oily smear, which is a lateral move at best.
Peanut butter works the same way (it’s just oil in paste form) but makes a bigger mess than it’s worth. Stick with liquid oils.
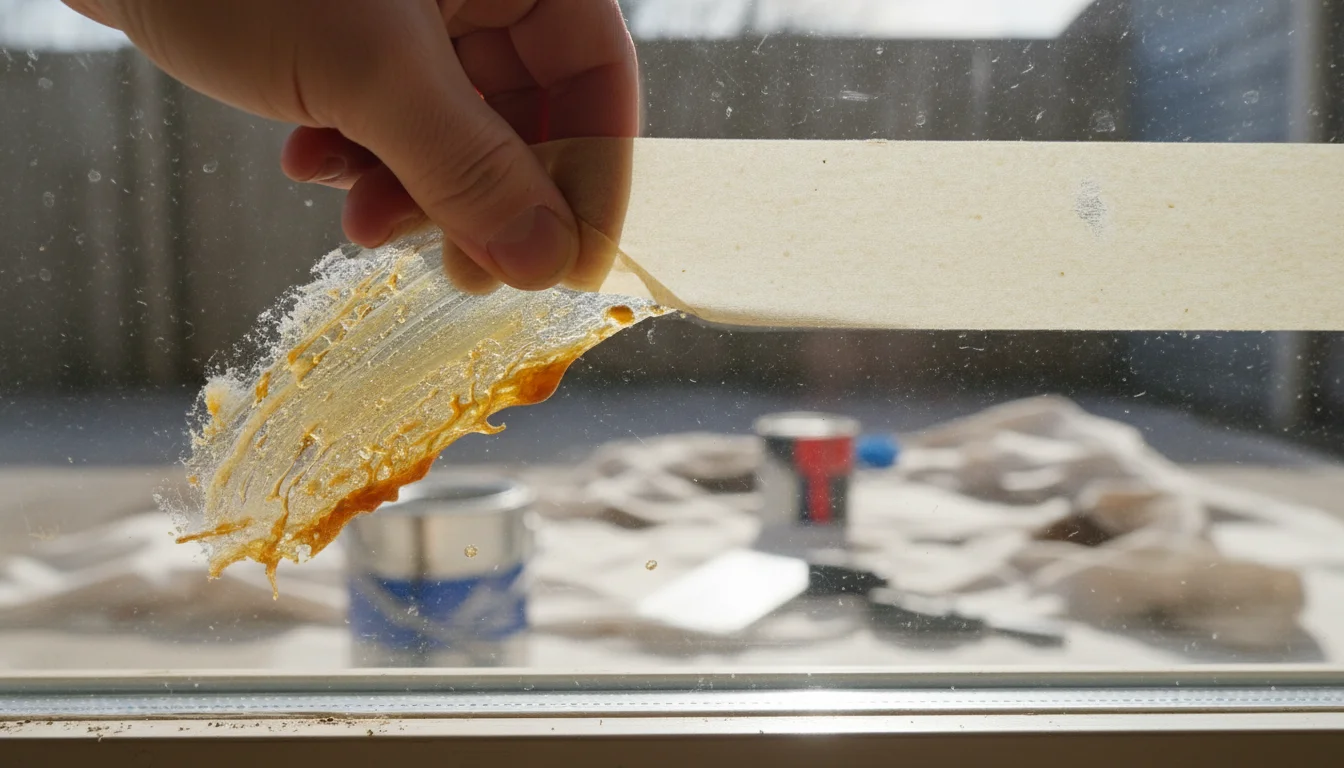
4. Scrape with a Plastic Tool
Press the edge of a plastic scraper, old credit card, or gift card against the surface at a shallow angle (about 30 degrees). Push forward in short, firm strokes to lift the residue. Too steep and you dig into the surface. Too flat and you ride over the residue without catching it.
Use this as a first step before any solvent. Scrape off the thick stuff mechanically, then hit the remaining thin film with alcohol, oil, or whatever method suits your surface. Scraping alone handles bulk residue faster than any liquid can dissolve it.
Plastic only. Metal scrapers gouge paint, scratch glass, and damage soft surfaces. Not worth the risk. If you don’t have a plastic scraper, the edge of a credit card or even a plastic knife from a takeout bag works. Anything with a firm but non-scratching edge.
5. Commercial Adhesive Remover
Apply a commercial adhesive remover (Goo Gone, Un-Du, 3M Adhesive Remover) directly to the residue. Let it sit for 2 to 5 minutes so the solvent penetrates the adhesive layer. Wipe away with a clean cloth. For thick residue, apply a second round and let it soak longer.
The citrus-based ones (Goo Gone) are milder and smell better. The petroleum-based ones (3M) are more aggressive and handle industrial-strength adhesives like duct tape and foam mounting tape. If you deal with residue often (workshops, craft rooms, offices), keep a bottle around. The time savings over household alternatives add up.
Use in a ventilated area. Most of these contain petroleum distillates or citrus solvents that aren’t great to breathe in concentrated form. A bottle of Goo Gone runs about $5-8 and lasts for dozens of applications, so if you’re comparing it to the 20 minutes you just spent scrubbing with vinegar, the math favors the commercial product.
6. White Vinegar Adhesive Soak
Soak a cloth in undiluted white vinegar and lay it over the sticky residue. Leave it for 10 to 15 minutes so the acetic acid loosens the adhesive bond. Remove the cloth and wipe away the softened residue.
Vinegar is the weakest option here for adhesive removal. But it’s food-safe, non-toxic, and sitting in your pantry right now. That makes it the right call for kitchen surfaces, glass jars you’re about to eat from, and anywhere you don’t want chemical solvents near food. For heavy-duty tape residue, skip this and go with alcohol or a commercial remover.
Avoid on marble, granite, or any natural stone. The acid etches the surface and creates a dull spot that looks worse than the original stain. For stubborn spots on safe surfaces, warm the vinegar slightly in the microwave (10 seconds) before soaking the cloth. The warmth boosts the acetic acid’s dissolving power.
7. Baking Soda Paste for Scrubbing
Mix 3 parts baking soda to 1 part water to form a thick paste. Spread it over the residue, let it sit for 15 minutes, then scrub with a non-scratch sponge or nylon brush. The mild abrasion lifts the adhesive without scratching most surfaces.
For extra dissolving power, mix the baking soda with a splash of cooking oil instead of water. You get the abrasion from the baking soda and the solvent action from the oil working together. Rinse with dish soap and warm water afterward to cut the oil.
Best for textured surfaces where residue has settled into grooves that a flat cloth can’t reach.
8. Eraser Rub
Rub a clean pencil eraser back and forth over the sticky residue. The friction rolls the adhesive into small balls that peel away from the surface. Work in one direction, brushing away the rolled-up bits as you go.
A standard pink eraser works fine. Rubber cement erasers (the rectangular blocks from art supply stores) work faster because they’re softer and generate more friction against the adhesive.
This is the gentlest method on the list. No chemicals, no moisture, no heat. It’s what archivists and conservators use on paper documents and artwork. If you’re removing tape residue from paper, book covers, photographs, or painted walls where any liquid would cause damage, this is the only option worth trying.
Frequently Asked Questions
Will Dawn dish soap remove tape residue?
On its own, not really. Dish soap is a surfactant designed to cut grease, and tape adhesive isn’t grease. But Dawn works well as a cleanup step after oil-based methods (method 3 above) to remove the oily film left behind. Think of it as the finisher, not the main event.
Will Windex remove tape residue?
On glass, yes. The ammonia in Windex dissolves light adhesive residue effectively. Spray it on, wait a minute, wipe. But it struggles with anything heavier than basic masking tape residue. For duct tape or packaging tape on glass, rubbing alcohol is faster and cheaper.
How do hospitals remove adhesive from skin?
Medical adhesive removers (like Smith & Nephew Remove wipes) use silicone-based solvents that dissolve adhesive without irritating skin. For home use on skin, baby oil does the same job. Soak the area for a minute, then gently roll the residue off. Never scrape adhesive off skin.
Does the age of the residue matter?
Yes. Fresh residue responds to almost any method quickly. Old residue (weeks to years) partially cures and resists chemical solvents better. For aged residue, heat (method 2) is your best starting point because it re-softens the cured polymer. Follow with alcohol or a commercial remover for the last traces.
Does the type of tape matter?
Absolutely. Masking tape and painter’s tape leave light residue that almost anything removes. Packing tape is stickier but still manageable. Duct tape is the worst offender because its rubber-based adhesive is thicker and bonds more aggressively, especially after heat exposure. Foam mounting tape (the double-sided stuff used for hooks and picture frames) is in its own category of difficult because you’re dealing with thick adhesive on both faces. For foam tape, start with heat plus scraping, then finish with a commercial remover.
Can I use nail polish remover instead of rubbing alcohol?
If it’s acetone-based, yes, and it’s actually a stronger solvent than isopropyl alcohol. But acetone dissolves certain plastics (polystyrene, acrylic), damages many painted surfaces, and strips lacquer immediately. On glass and metal it’s fine. On anything else, test first or stick with rubbing alcohol.